How to rotate a video in YouTube studio editor after
uploaded – with pictures
Sometimes you may
upload videos that is rotated in a wrong
direction by mistake on you tube, what will you do in this case correct it? You
will upload again? No!
If you face this problem,
this blog is for you, just follow the following steps:
1. Login to your YouTube
account, then click on your profile picture and the select YouTube studio
2. Open Creator studio classic from the left bottom of your YouTube studio
As soon as you click on creator studio classic , you will get two popups , click skip on the first one and scroll down click go
to legacy classic on the second one as you see below
3rd . Now you are on the creator studio
page , click on video manager
4th. on
this step you will be presented with a list of your videos on YouTube, select the video you want to rotate and
click on edit
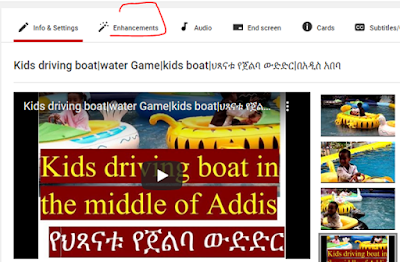
5th. Click on Enhancements
6th. once
you open Enhancements, you will be presented with following page, right click trim
and select inspect/inspect element as shown below
Remember: the rotate arrows are not there (they are hidden
by default) that is why we need to follow this step, to bring them.
After clicking on inspect, the browser displays the code as shown below, just delete the text “hidden=true”, immediately, the rotate arrows are displayed, which help you to rotate your video.
After clicking on inspect, the browser displays the code as shown below, just delete the text “hidden=true”, immediately, the rotate arrows are displayed, which help you to rotate your video.
Done! Now you can
rotate your video to the direction you want and finally don’t forget to save.


ReplyDeleteشركة تنظيف موكيت بتبوك
شركة نظافة بتبوك
شركة نظافة منازل
نظافة عامة
شركات نظافة منازل
شركات تنظيف السيراميك بتبوك
شركات التنظيف بتبوك